Wanna to make really awesome Easter Eggs with minimal mess? Of COURSE you do. And you probably have all the stuff on hand to make them, I did! And lord knows I don't bake..just happened to have food coloring around for making homemade playdoh. You don't even need very much. I stumbled upon these awesome Tie-Dyed Easter Eggs over on Pinterest. The original tutorial is from Disney Family Fun. They have tons of great ideas over there, you should check it out! Including all sorts of April Fool's Day fun. AWESOME. I love a good prank.
Tie-Dyed Easter Eggs:
Materials:
Hard Boiled Eggs
Vinegar
Food Coloring
A Colander
Cold Water
First things first, we hard boiled some eggs. I always put all my eggs into a large sauce pan, cover with cold water, bring to a boil, turn off the heat and cover. Let sit for 12-15 minutes. That's my preferred hard boiled egg recipe. I know some people like to let them sit longer but this always works for me.
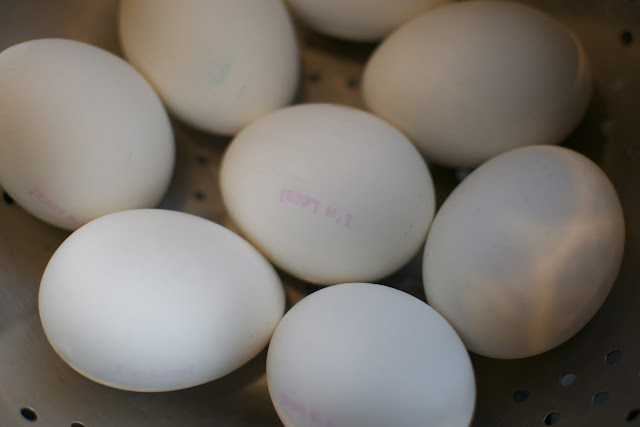
What you need: Hard Boiled Eggs, Vinegar, Food Coloring, (We used gel and regular. I'd recommend gel if you have it or can get it. It's less runny) Water and a Colander. That's it!
You can see my eggs lost a little bit of the, "I'm Local" stamp. I was happy :)
Put a few of your eggs into your colander and set it over your sink.
Excited!!!
Pour a cupful of vinegar over your eggs. We didn't measure. Just eye balled it to make sure the vinegar covered all the eggs. We made three batches of eggs with different combinations of colors. We started with 7 eggs.
Starting with yellow, drop a few drops of color on the eggs. Just a little is needed. Feel free to use whatever colors you have on hand. But I would always start with yellow, and not use more than three colors per set. Just so the colors don't get all muddied up.
Then swirl and swish the eggs around in the colander. They'll look like this when done. Let the eggs set for about 30 seconds.
Take another color, we did red, and drop a few drops of the dye over the eggs.
Swish and swirl again. Let the eggs set again for 30 seconds. We totally forgot to let them set after this part. Whoops! Still worked.
Drop your third color. We did blue.
Swish and swirl again! You can see the blue came out a LOT faster and messier than the red and yellow which were gel dyes.
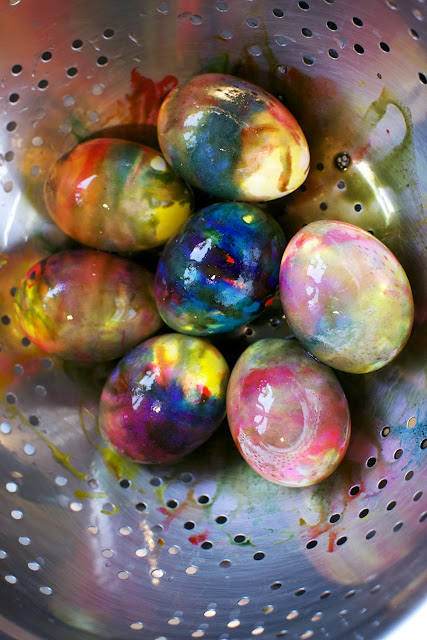
Here are the eggs. All swished around. Let set for another 30 or so seconds. That one in the middle is sweet.
Now, pour cold water over the eggs.
TADA! Awesome. Let set for about a minute.
We then picked up each egg and lightly dried it off. It helps to stick our your tongue. Everyone knows that.
Look how awesome!
Like a little gift. And each one was so different.
All our eggs! With virtually ZERO mess. Which, of course, is my favorite kind of mess.
Happy Wednesday,
xoxo
Erin


We tried them!! I'm going to post a picture on my blog's fb page and tag yours. Mine are not nearly as fun as yours are, but still neat! :)
ReplyDeleteWe used the gel coloring and did batches of 3. One batch pretty much just came out blue, but the rest were very fun. So neat to see all the colors in different places. Thanks for sharing!
ReplyDelete